Guides · 1 min read
How to add screw holes, nut traps and magnet pockets
Printed holes always come out a bit smaller. Lok3D draws each hole with the right clearance already; you just pick where it goes.
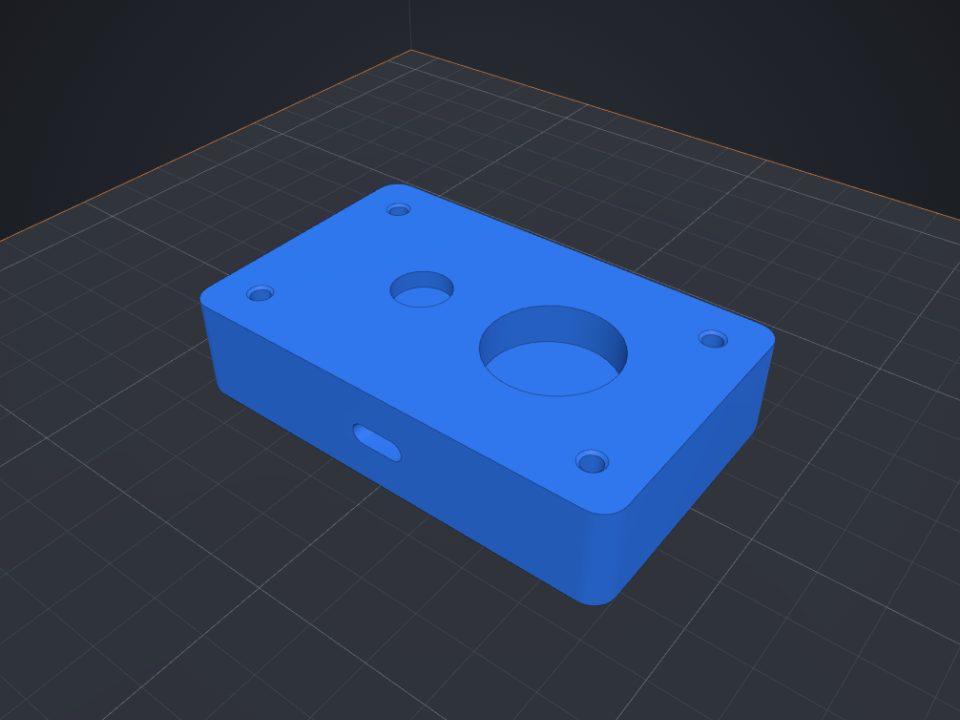
Step by step
- Choose the hole
In "Screws and threads" (hole, nut trap, thread) or "Component pockets" (magnet, bearing, LED, USB, battery).
- Click where it goes
Hover the part: a red preview appears. It snaps to the face center and the grid (Alt frees it). R rotates.
- Make several
Each click adds another hole. Esc finishes.
- Check and print
The holes stay in a group with the part: you can move each one later in the Objects tab.
Tips
- 0.2 mm clearance for holes and 0.3 mm for printed threads.
- Threads below M5 are hard with a 0.4 mm nozzle: prefer a nut trap.
Other guides
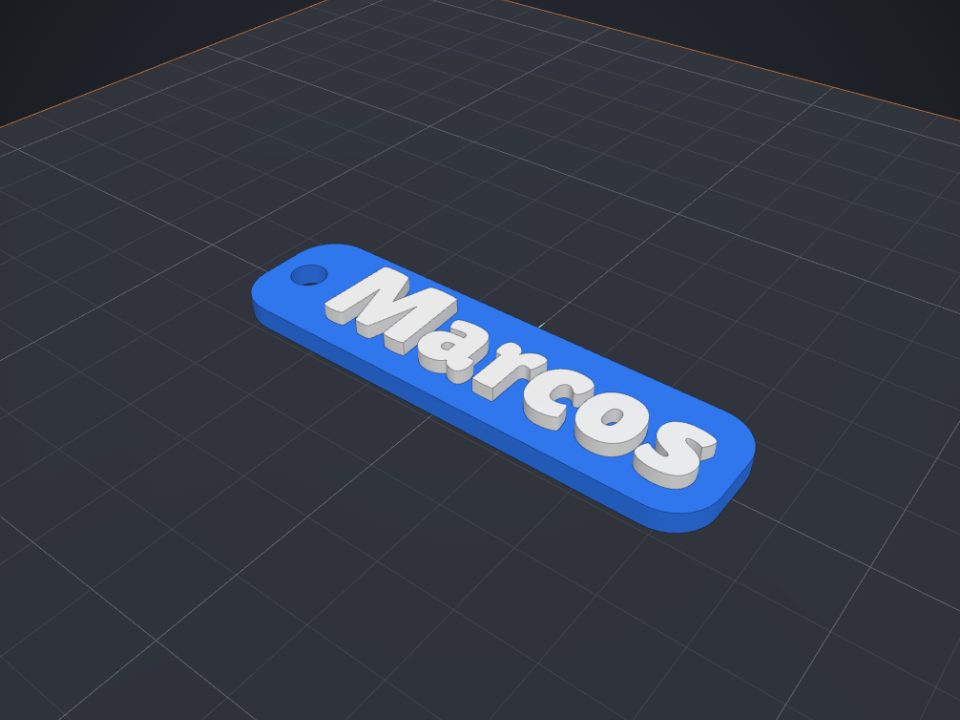 How to make a name keychain for 3D printing
A name keychain is a great first project: it is ready in minutes, prints fast and makes a very personal gift.
How to make a name keychain for 3D printing
A name keychain is a great first project: it is ready in minutes, prints fast and makes a very personal gift.
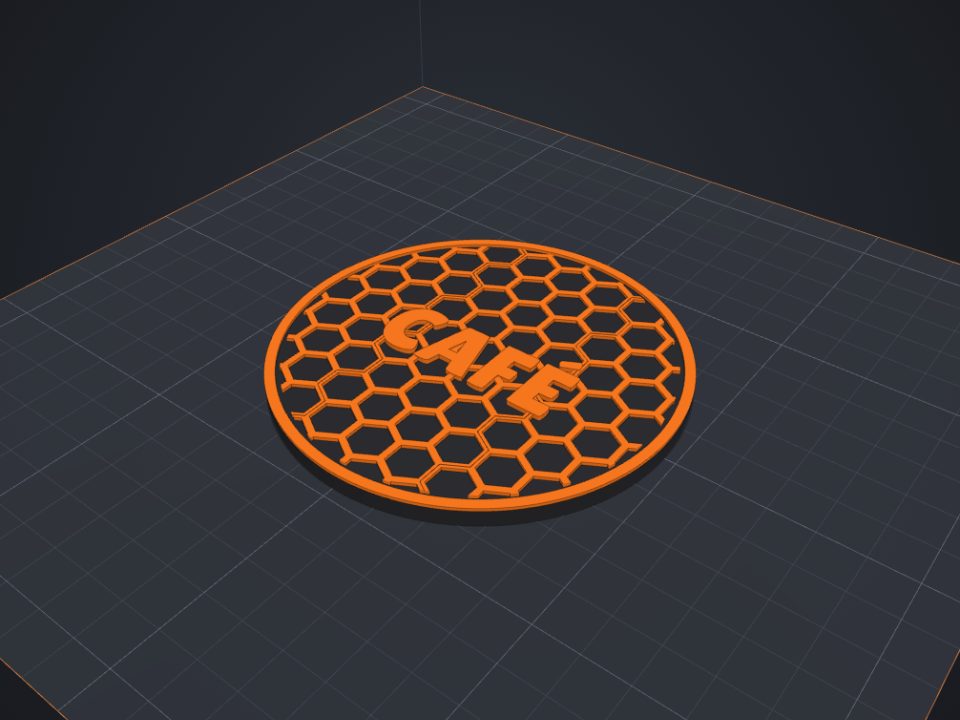 How to paint a model for multicolor printing on Bambu (AMS)
With the Paint tool you pick colors right on the part, like in Bambu Studio, and the 3MF keeps the painting.
How to paint a model for multicolor printing on Bambu (AMS)
With the Paint tool you pick colors right on the part, like in Bambu Studio, and the 3MF keeps the painting.
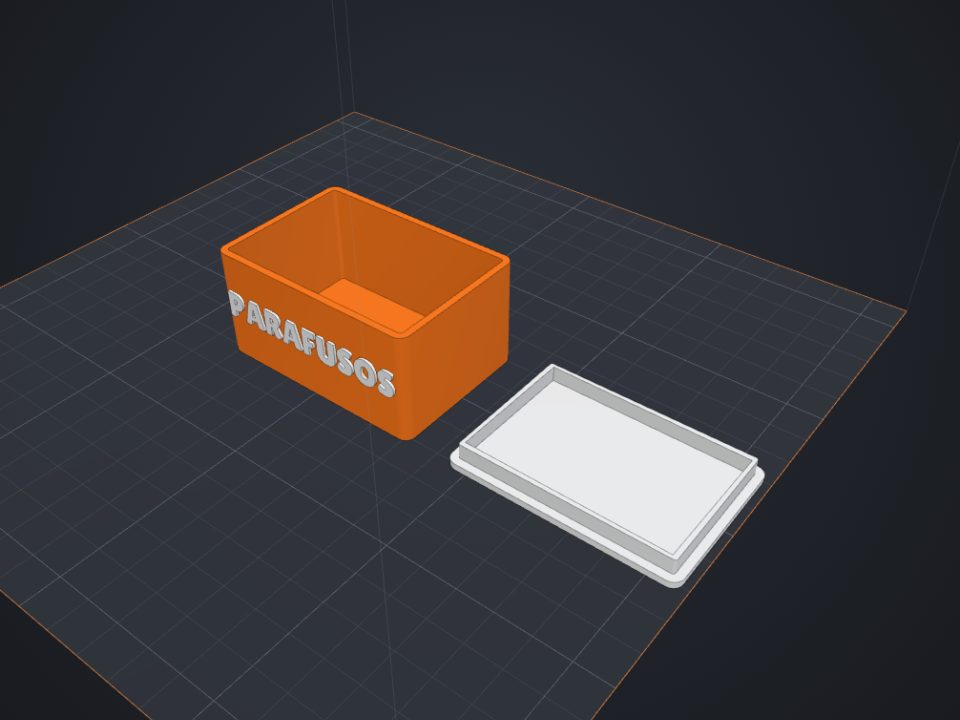 How to make a custom-size box with lid for 3D printing
The secret of a box with a lid is clearance: too tight and it will not close, too loose and it falls off. Here is how to get it right the first time.
How to make a custom-size box with lid for 3D printing
The secret of a box with a lid is clearance: too tight and it will not close, too loose and it falls off. Here is how to get it right the first time.
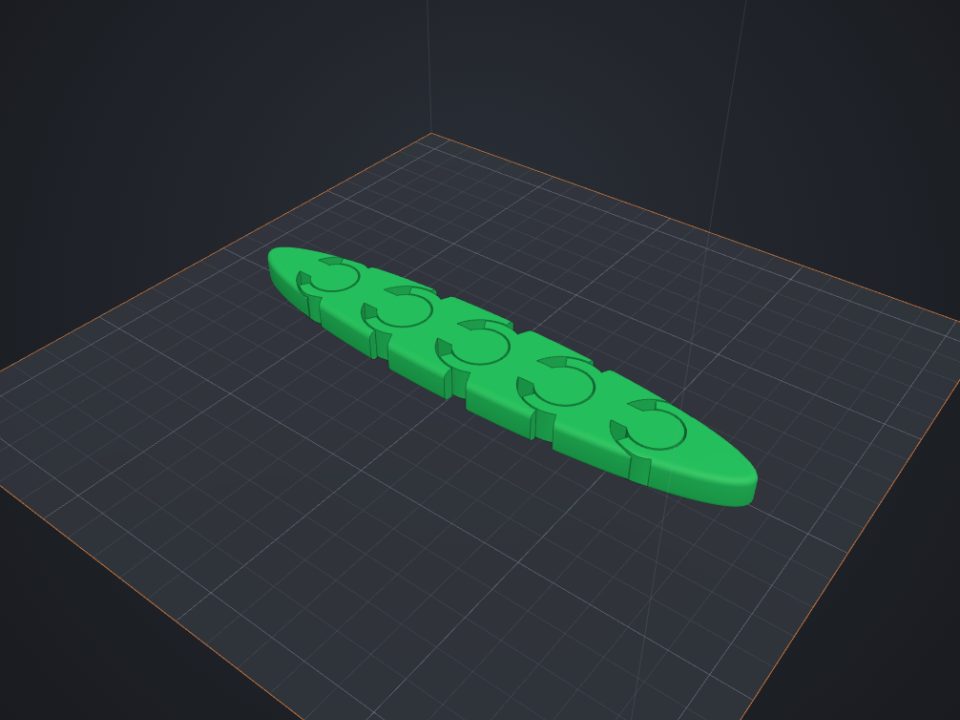 How to make an articulated part that comes off the printer ready
Print-in-place parts come off the printer already articulated: the joints print one inside the other, with a small clearance.
How to make an articulated part that comes off the printer ready
Print-in-place parts come off the printer already articulated: the joints print one inside the other, with a small clearance.