Guides · 1 min read
How to make an articulated part that comes off the printer ready
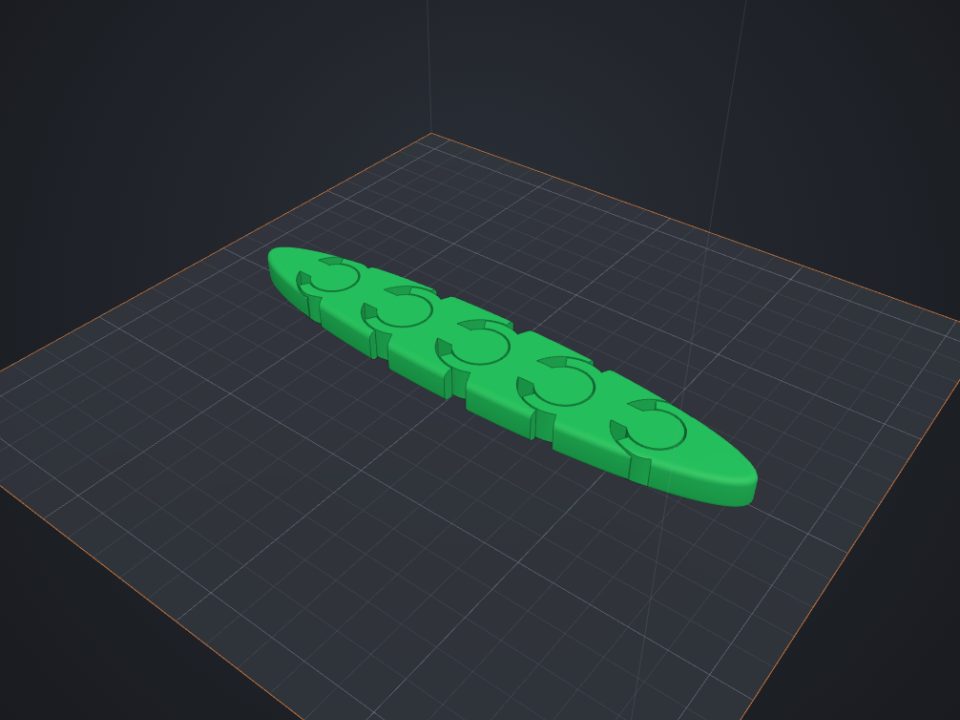
Print-in-place parts come off the printer already articulated: the joints print one inside the other, with a small clearance.
Step by step
- Make a long shape
Draw or import a part longer than it is wide, at least 8 mm wide.
- Use Object → Articulate
Choose how many segments, the clearance (0.5 mm) and how much each joint swings.
- Check it
Each segment becomes a separate part, linked to the next by a vertical pin held in a socket.
- Print it lying flat
No supports. Then bend it gently to free the joints.
Tips
- If the joints fuse, increase the clearance to 0.6 mm (see the "Clearance test").
- A well-calibrated first layer is essential: elephant foot glues the joints.
Other guides
 How to make a name keychain for 3D printing
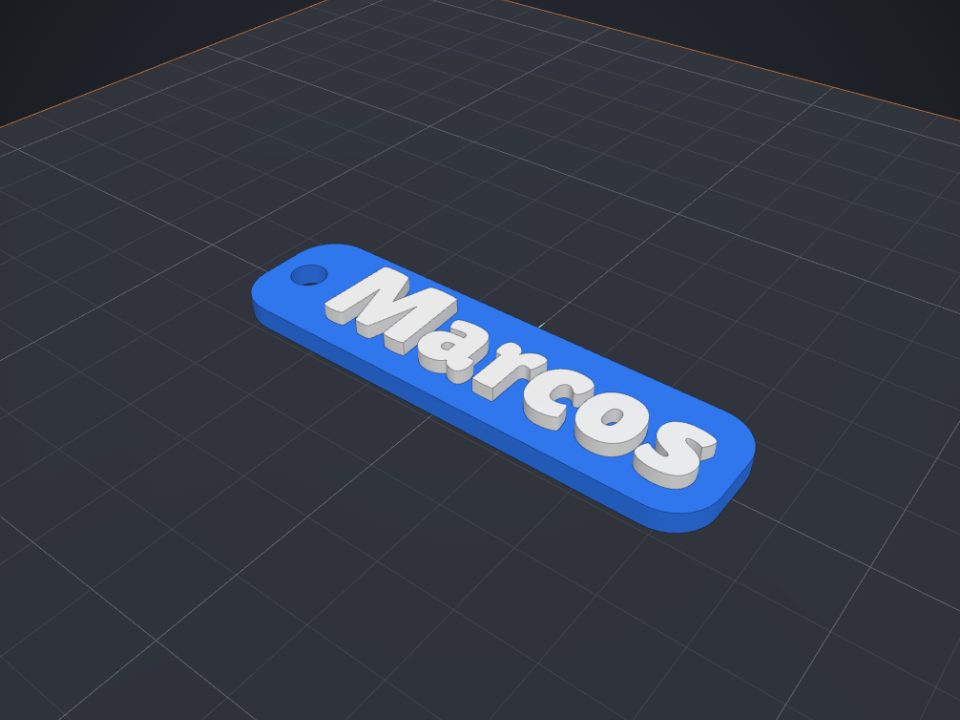
A name keychain is a great first project: it is ready in minutes, prints fast and makes a very personal gift.
How to make a name keychain for 3D printing
A name keychain is a great first project: it is ready in minutes, prints fast and makes a very personal gift.
 How to paint a model for multicolor printing on Bambu (AMS)
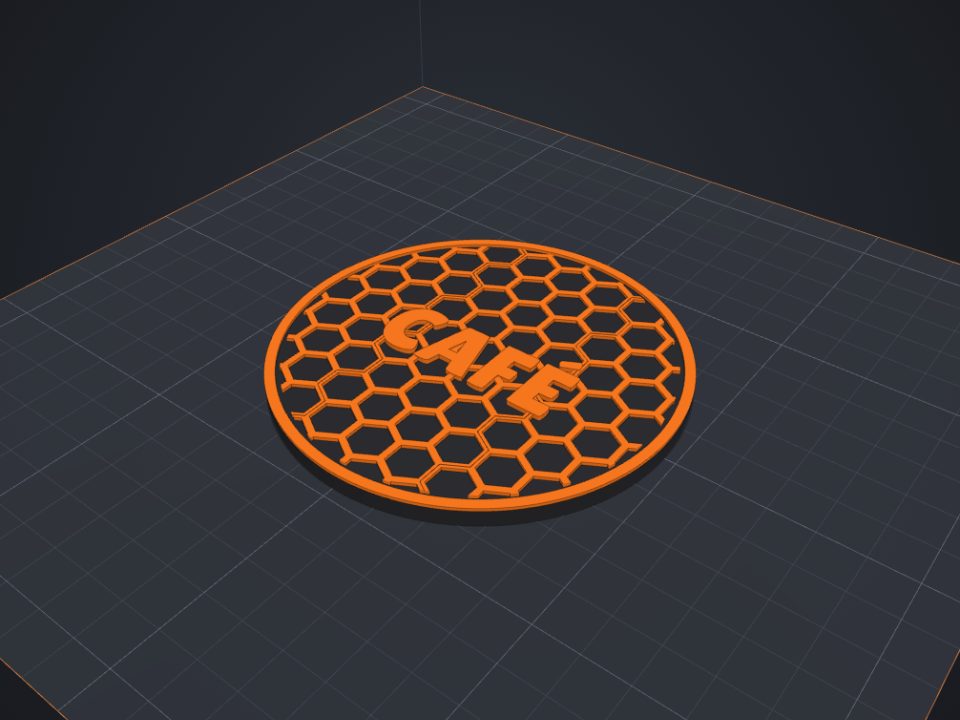
With the Paint tool you pick colors right on the part, like in Bambu Studio, and the 3MF keeps the painting.
How to paint a model for multicolor printing on Bambu (AMS)
With the Paint tool you pick colors right on the part, like in Bambu Studio, and the 3MF keeps the painting.
 How to make a custom-size box with lid for 3D printing
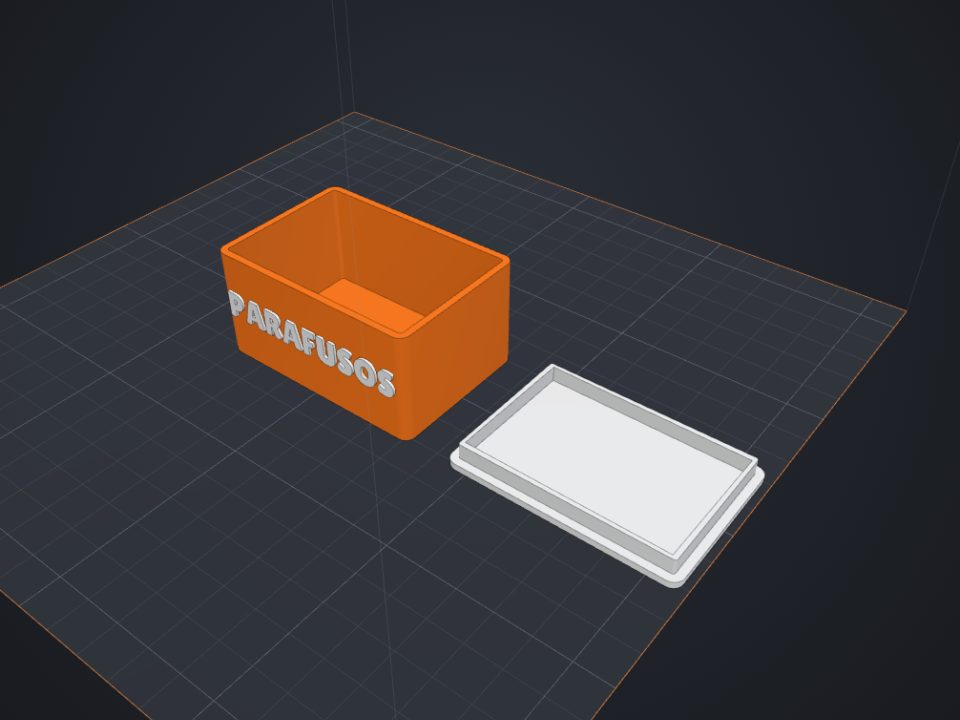
The secret of a box with a lid is clearance: too tight and it will not close, too loose and it falls off. Here is how to get it right the first time.
How to make a custom-size box with lid for 3D printing
The secret of a box with a lid is clearance: too tight and it will not close, too loose and it falls off. Here is how to get it right the first time.
 How to add screw holes, nut traps and magnet pockets
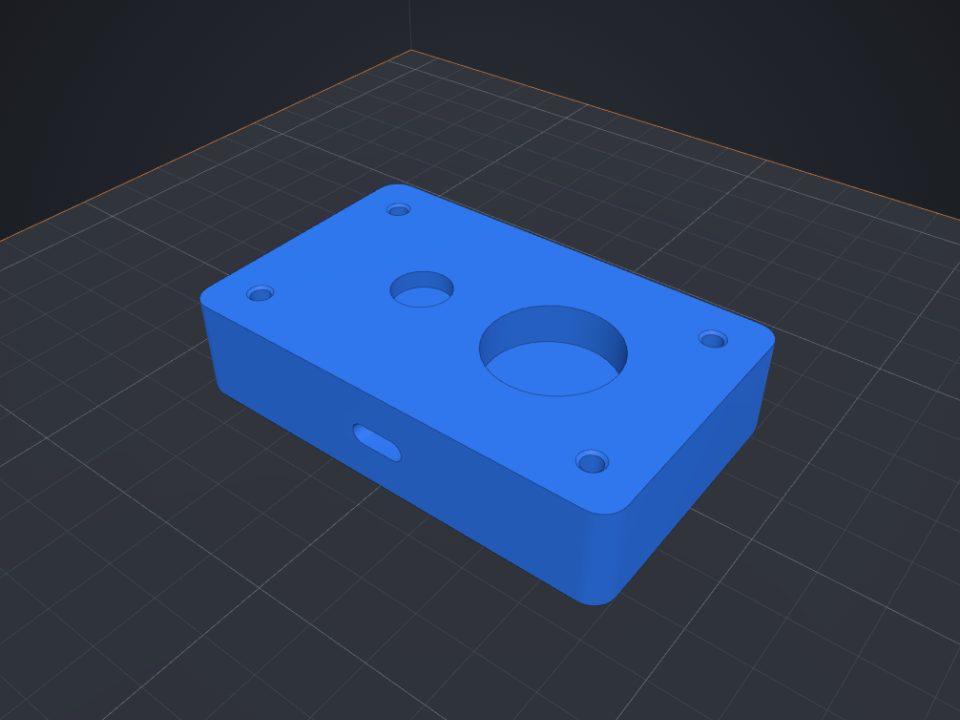
Printed holes always come out a bit smaller. Lok3D draws each hole with the right clearance already; you just pick where it goes.
How to add screw holes, nut traps and magnet pockets
Printed holes always come out a bit smaller. Lok3D draws each hole with the right clearance already; you just pick where it goes.