Guides · 1 min read
A free Tinkercad alternative made for 3D printing
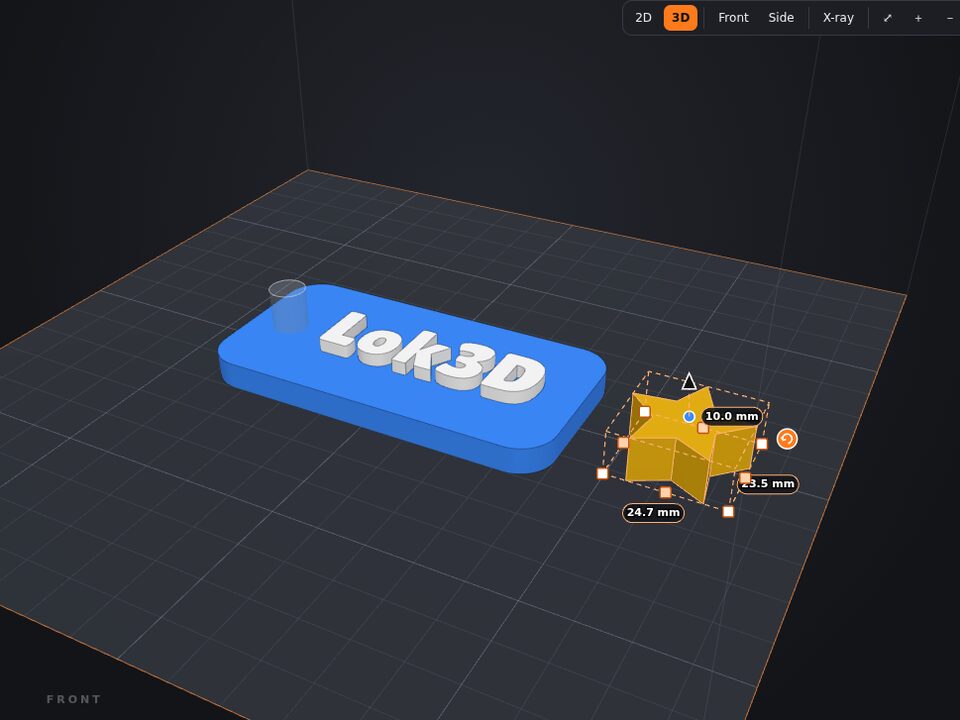
If you learned 3D with Tinkercad, you already know how to use Lok3D: drag shapes, turn some into holes and combine. The difference is that Lok3D was made for printing: what you design comes out ready for the slicer, in color, at the size of your printer.
Step by step
- Shapes and holes work the same way
Pick a shape on the left, place it on the bed and resize it with the handles or by typing mm. Turn any part into a hole with "Hole" (O) and combine with "Union" (Ctrl+G).
- Draw your own shapes
Beyond ready-made shapes, draw with the pen, pencil or line, like in a vector editor (CorelDraw, Illustrator). Each node can be a corner or a curve, and each segment can be straight or curved.
- Round edges and add screws
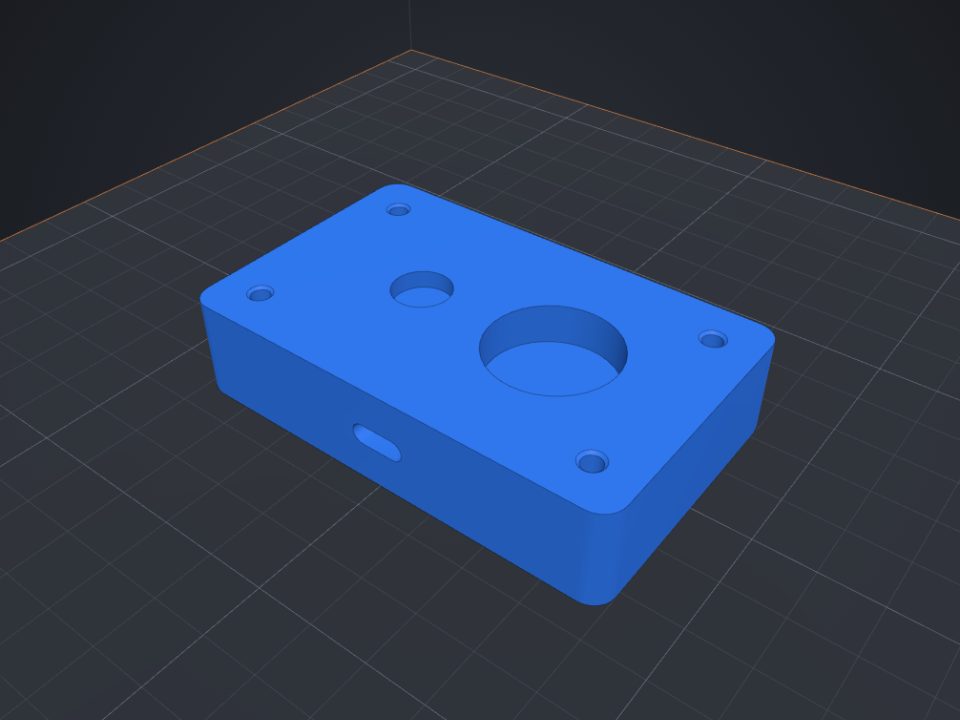
Round or chamfer edges with a click, add screw holes, nut traps, threads and magnet pockets with the right clearance.
- Paint in color
Paint faces or whole parts and download a 3MF with the colors, ready for the AMS in Bambu Studio, OrcaSlicer or Creality Print.
- Choose your printer
Pick your printer (Bambu Lab, Creality, Prusa, Elegoo...) and the bed shows its real size. Too many parts? Spread them over several plates, like in Bambu Studio.
- No account needed
Open the site and start. Without an account the project stays for 48 hours; with a free account it is kept and you can publish in the gallery.
Tips
- Shortcuts are similar: Ctrl+G combines, Ctrl+D duplicates, D drops the part onto the bed.
- Import your old Tinkercad models: export them as STL or OBJ and use File → Import.
- It also works on tablets and installs like an app (PWA).
Other guides
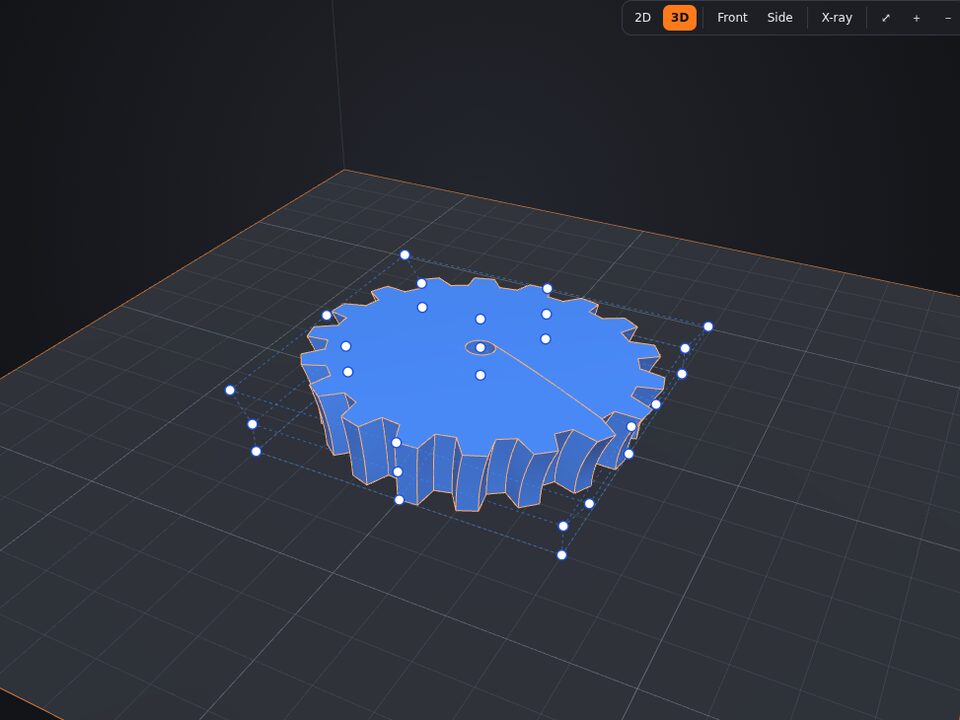 How to edit an STL online: cut, resize, deform, paint and combine
Downloaded a model that is almost what you need? No need to install anything: Lok3D opens the file in the browser and you edit it like any other part.
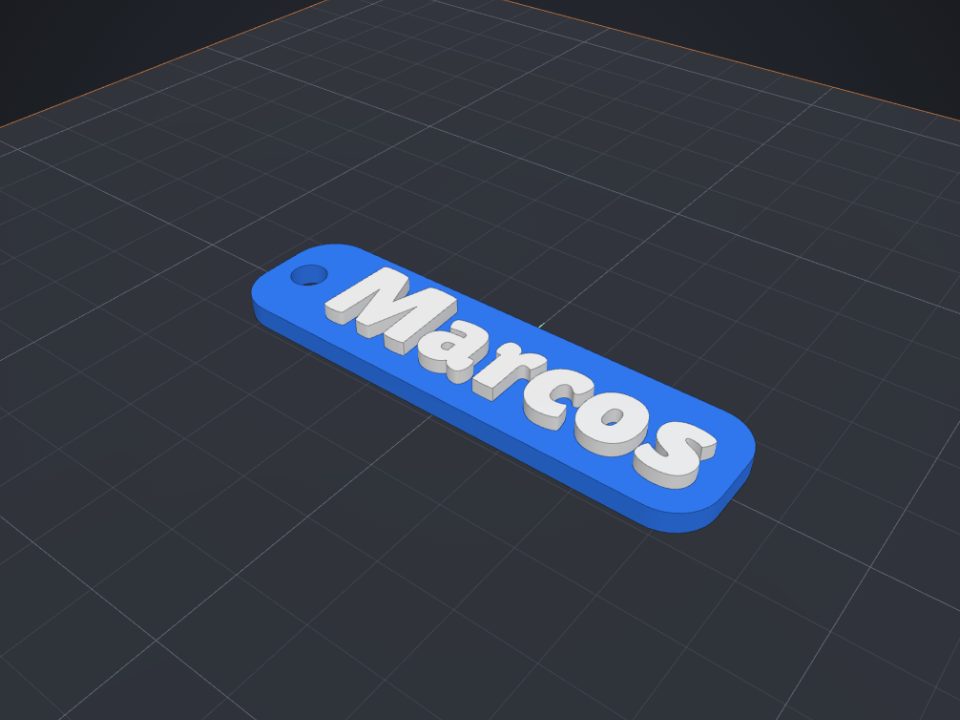 How to make a name keychain for 3D printing
A name keychain is a great first project: it is ready in minutes, prints fast and makes a very personal gift.
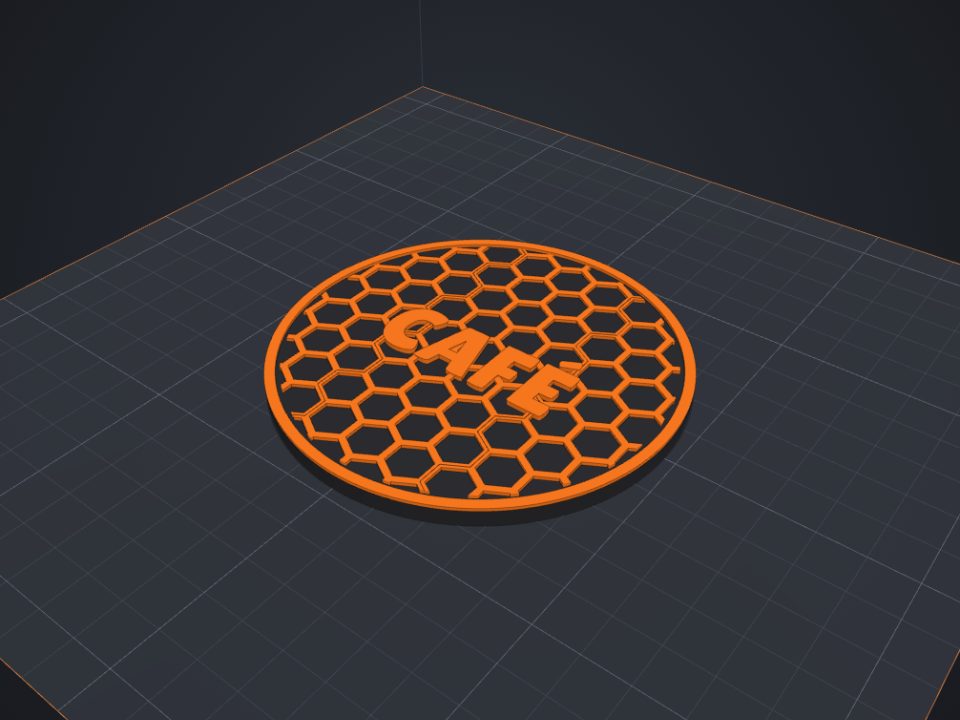 How to paint a model for multicolor printing on Bambu (AMS)
With the Paint tool you pick colors right on the part, like in Bambu Studio, and the 3MF keeps the painting.
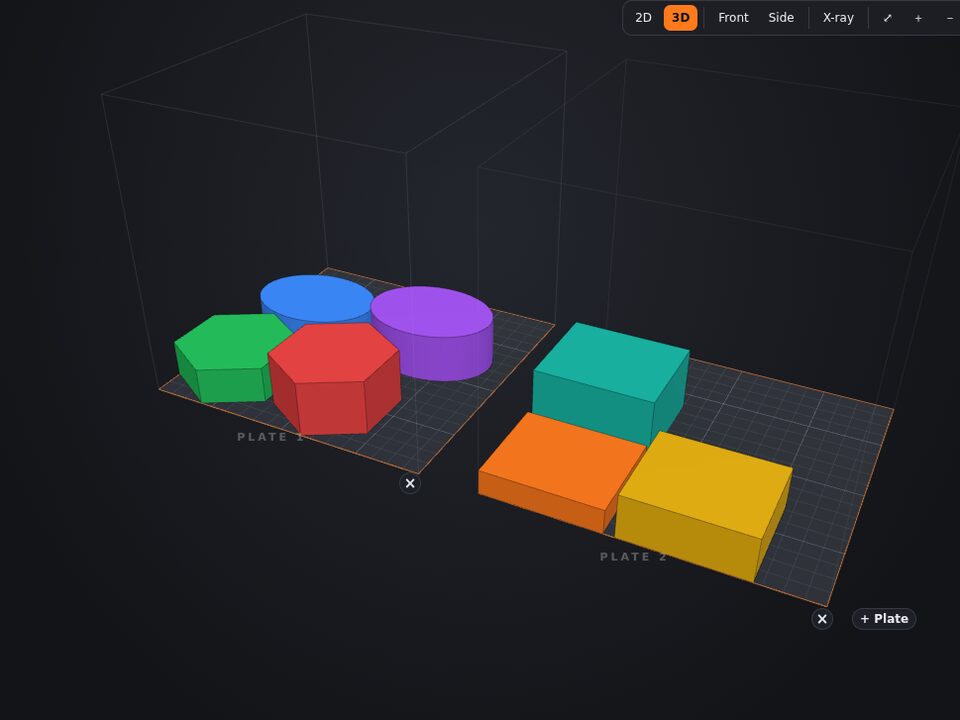 How to use several plates and the right bed size for your printer
Like in Bambu Studio, each plate in Lok3D is one print. Choose your printer once: the bed size is remembered for your next projects.
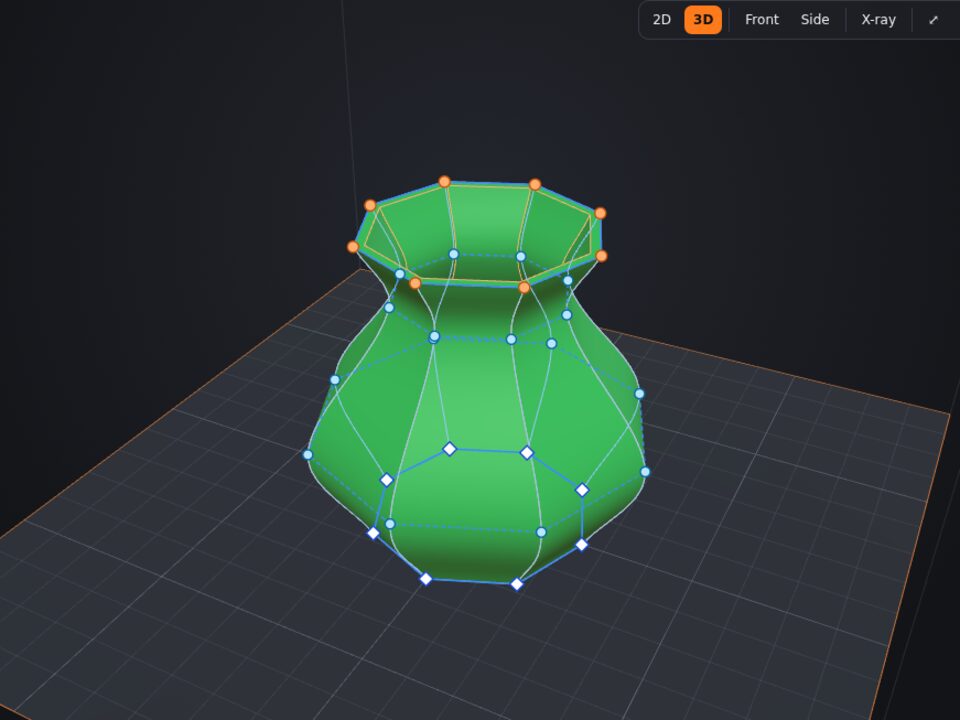 How to make a vase, cup or curved part with sections
A shape in Lok3D is a bottom outline and a top outline. Sections add outlines in between, so the wall can bulge, narrow and curve like a turned vase.
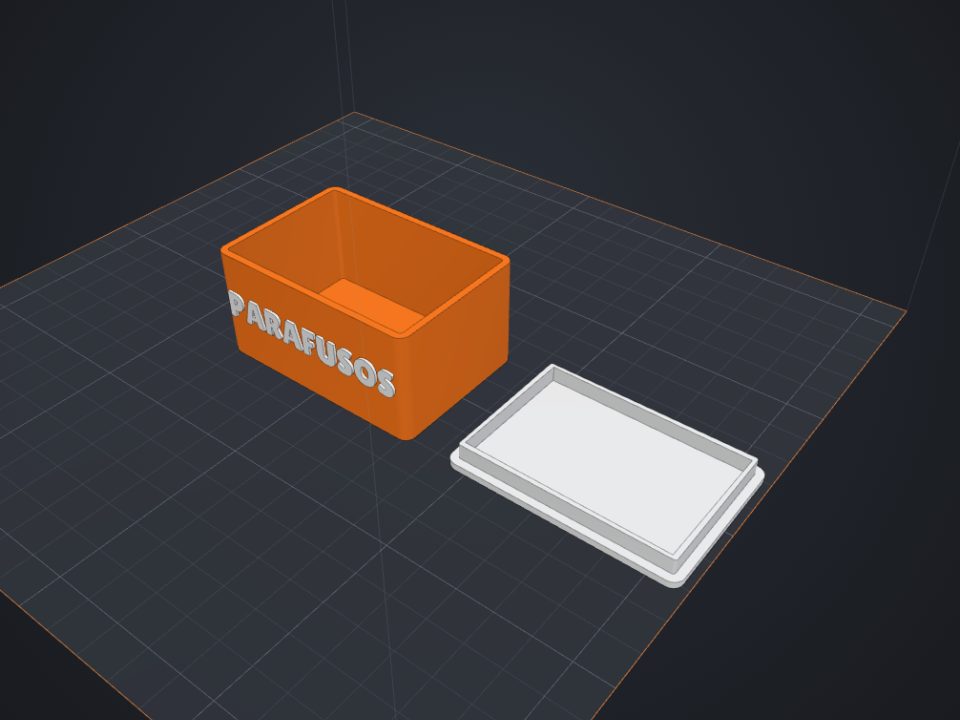 How to make a custom-size box with lid for 3D printing
The secret of a box with a lid is clearance: too tight and it will not close, too loose and it falls off. Here is how to get it right the first time.
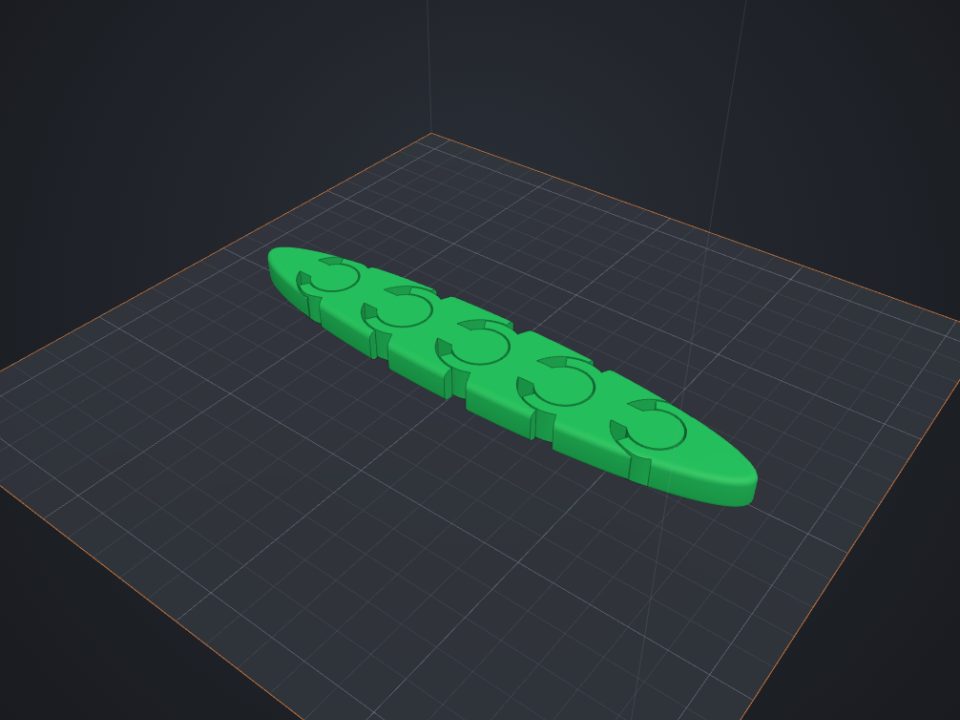 How to make an articulated part that comes off the printer ready
Print-in-place parts come off the printer already articulated: the joints print one inside the other, with a small clearance.
 How to add screw holes, nut traps and magnet pockets
Printed holes always come out a bit smaller. Lok3D draws each hole with the right clearance already; you just pick where it goes.